Rosemary, Thyme & Garlic Focaccia Family Favorite Recipe

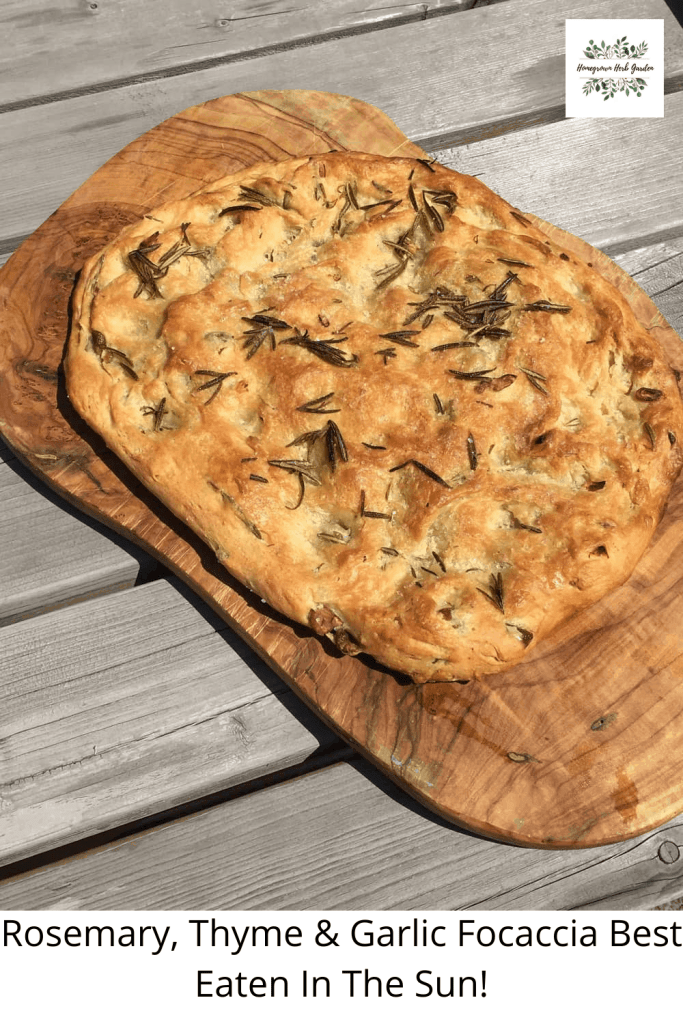
Rosemary, garlic and thyme focaccia is a family favorite and a really nice way to spend a sunny afternoon. Focaccia goes well with pasta and salads eaten in the garden!
Here is our favorite recipe that has been tried and tested over the years. We use rosemary and thyme straight from the garden and garlic that has been harvested and stored. By including olives as well you can include a savory element into an otherwise quite herby dish.
Ingredients For Rosemary, Thyme & Garlic Focaccia
- 2 cups ( 8 oz) plain flour, sifted
- 1/2 teaspoon Kosher salt
- 1 sachet easy blend fresh yeast
- 2 fresh sprigs of rosemary
- 2 fresh sprigs of thyme
- 4 cloves of garlic, finely chopped
- 15 green olives
- 1 tablespoon loive oil
- 150ml (2/3 cup) warm water
For The Topping
- 1 fresh sprig rosemary
- 1 fresh sprig thyme
- 90ml (6 tablespoons) olive oil
- 2 teaspoon Kosher salt
Variations On Focaccia Recipe
You can use black olives instead of the green. Reduce the overall number if you do as they can have a stronger flavor.
Try using tarragon instead of rosemary to give a gentle anise flavor. Focaccia can be used as a starter with dipping vinegars and the lightness of fennel gives an unusual twist.
Instead of fresh garlic, try using smoked garlic to infuse a deeper flavor into your focaccia. You can omit it altogether, however if you are adverse to the taste! If you do add a few more olives to give the moisture that you would be missing from the fresh garlic.

Method For Making Focaccia

Step One – Prepare Your Focaccia Ingredients
For your focaccia it works best to use fresh herbs. The sprigs will need to have their leaves removed. To do this hold at the end and run your finger and thumb down the length of the against the leaf growth.
You can then decide if you want to chop the leaves to release more of the essential oils or leave them whole. We did a sort of mix to make the most of the crispy flavor that comes from cooking the herbs inside your focaccia.
Chop your olives up into quarters as you want them to stay chunky little pockets of brine moisture.

Step Two- Form The Dough
Add together the flour, yeast, salt garlic, thyme and rosemary with the chopped olives. Use a large bowl for this as you will need to leave it to prove in here as well. Make a well in your flour mix and add the olive oil and water. Mix it with your hands to make a firm dough.
Top Tip – use one hand to mix the dough as you will be able to keep the other free for the next step!
Step Three – Kneading Your Focaccia Dough
Using your clean hand flour a surface and turn out your dough. Knead it for between 10-15 minutes. You are looking for a springy consistency but with a firmness to it.

Step Four – Proving Your Focaccia Dough
The best way to ensure your proving process doesn’t dry out your dough is to lightly oil it. Then cover with cling film. We did this on a sunny day and left it for around an hour in the warmth of the sun. Otherwise use an airing cupboard or anywhere suitably warm. If you don’t have anywhere like this it will prove at room temperature, but it will take a little longer. You are looking for the dough to have doubled in size.

Step Five – Shaping Your Focaccia
Once your dough has doubled in size you will be able to knock it back and shape it. I don’t use a rolling pin, but you can if you are nervous about shaping by hand. It is not really all about getting a perfect shape though! Rustic is the look that we embrace!
I also use a reusable non-stick baking try liner, available here, to stop the dough sticking. Lay the liner on your baking tray and push the dough to form a rough rectangular shape. Roughly 1cm or 1/2 inch in thickness.
Step Six – Final Proving Stage
Brush the cling film with olive oil and cover your formed focaccia. Leave in a warm spot again for a further 25-30 minutes. You are looking for the dough to have grown in height as well as sort of widen a little.

Step Seven – Mix Up Your Focaccia Topping
Mix your fresh rosemary and thyme leaves with the olive oil. You can do this the night before to ensure that the herb flavors have infused or do this immediately before adding to your proved focaccia dough.

Step Eight – Preparing Your Focaccia Dough
Preheat your oven to 200C / 400F or Gas mark 6. Pop some indents into your focaccia dough. This will help your olive oil to pool and crisp up your focaccia. Spoon over the olive oil and herb mix. Then grind some sat on top. Cook for around 20-25 minutes until it is golden and slightly crisp as well.
Step Nine – Serving Your Focaccia
We love focaccia as a weekend staple and it goes really well with fresh pasta or as a tear and share for games night. You can make up a simple salsa verde to use as a dipping sauce or even a chimichurri. Great with barbeques as well, a great base for roast Mediterranean veg or even sliced and eaten with roasted camembert.
What Next & Further Reading
- 28 Useful Ideas For Too Much Rosemary – More Than Cooking! For those who want more ideas and inspiration!
- What To Do With A Bumper Harvest Of Garlic for more ideas for using up your garlic! We have a great harvest here as our soil is so well suited to growing garlic over winter. This is a real bonus to our cooking, if you love garlic that is!
- Fresh Garlic – The Best Substitutes just in case you haven’t got any fresh garlic to hand!
Categories